Infant FreeSurfer on ChRIS
Infant FreeSurfer is a modified FreeSurfer pipeline for infant brains spanning the 0–2 year age range.
This article is a complete walkthrough of how to run Infant FreeSurfer in ChRIS.
1. Upload Data in a Feed
After logging in, you can upload data to ChRIS by creating a feed. We need to create one feed per subject.
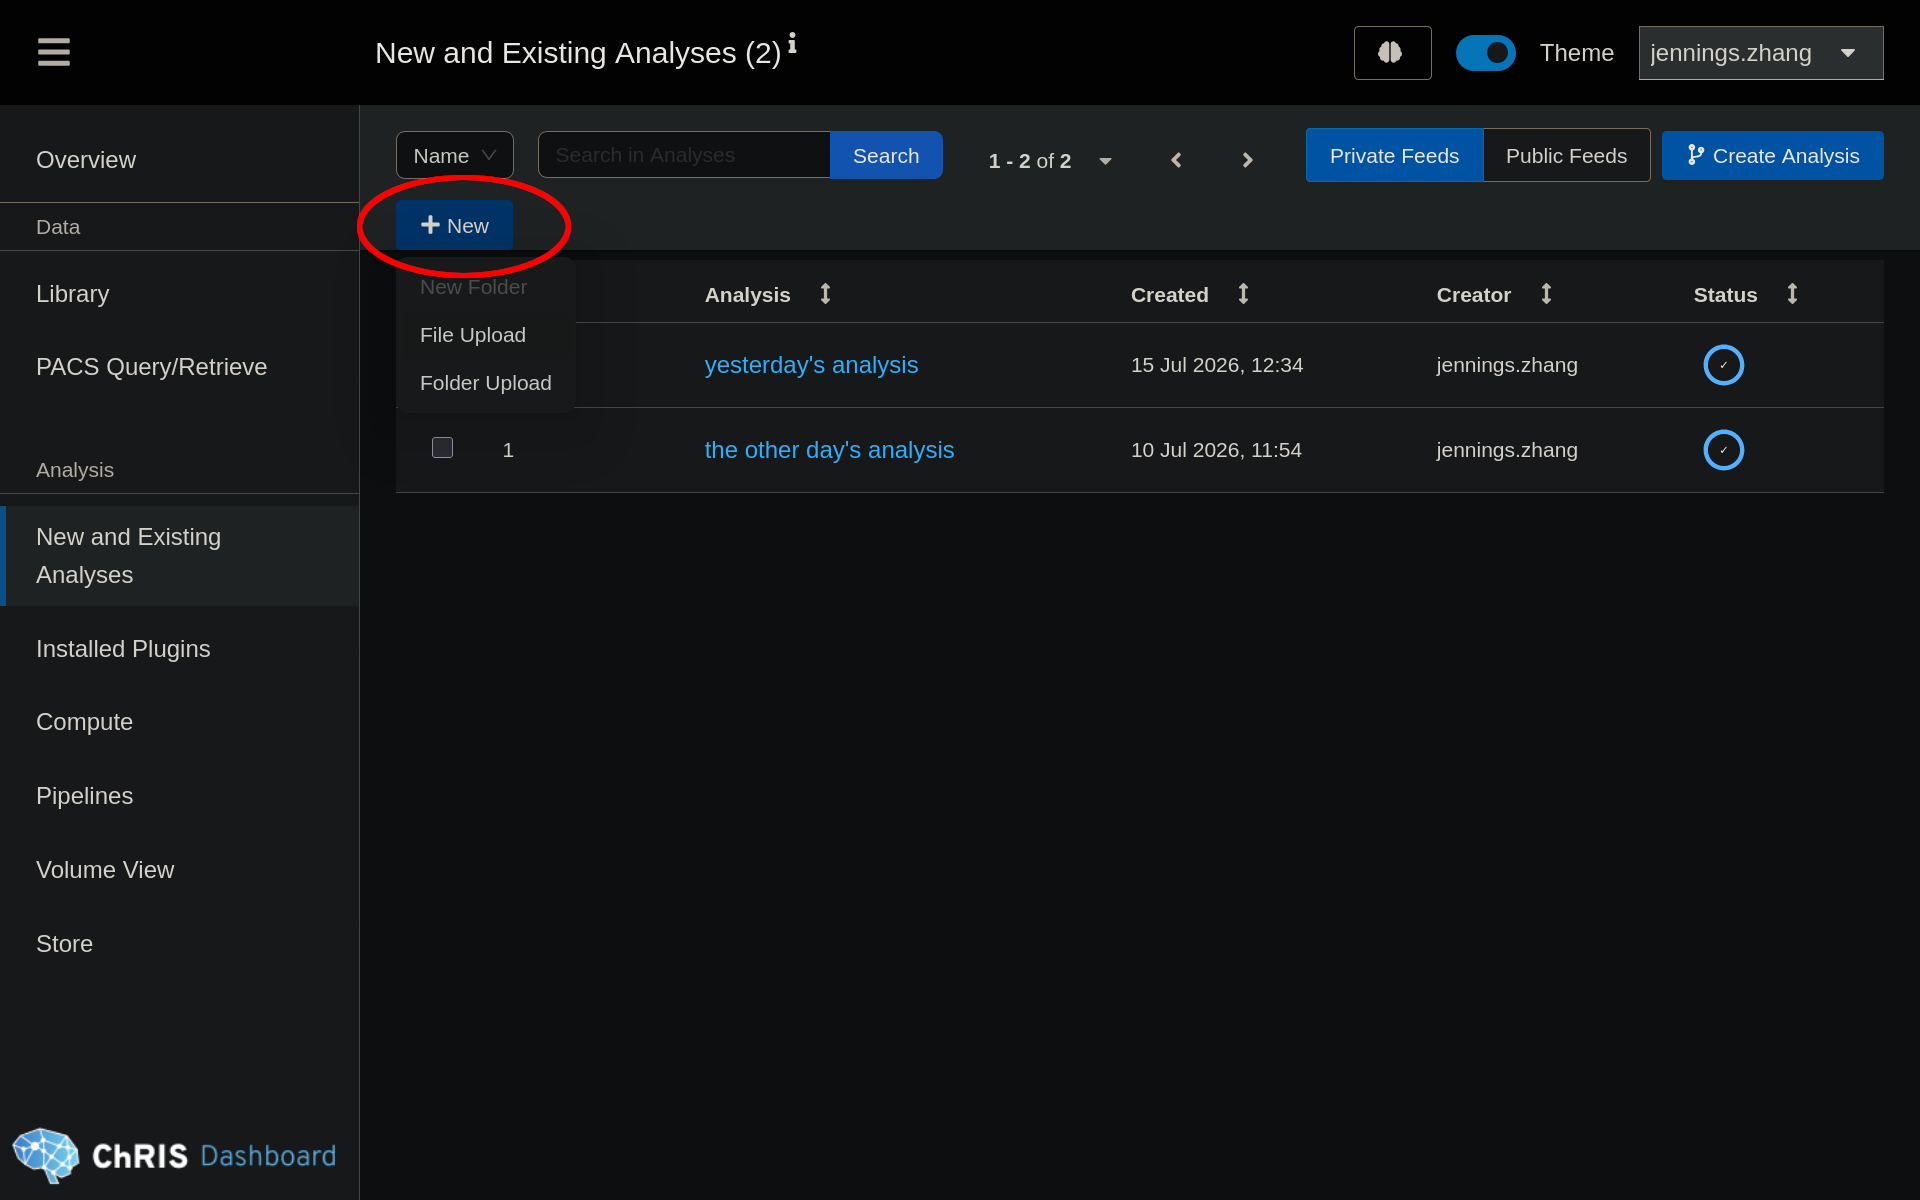
Find the "New and Existing Analysis" page in the sidebar. On this page, click , and click "File Upload".
Click "Next", and choose the right-most option "Upload New Data" to select files to upload from your local computer. In this example, we have selected a file called "sub-01_T1w.nii.gz".
infant_recon_all typically requires the input file to be named mprage.nii.gz.
Don't worry about this, the wrapper script of
pl-infantfs takes care of finding
your input file and passing it to infant_recon_all.
After choosing a file, it will ask you to name your feed. Provide a description of your task here.
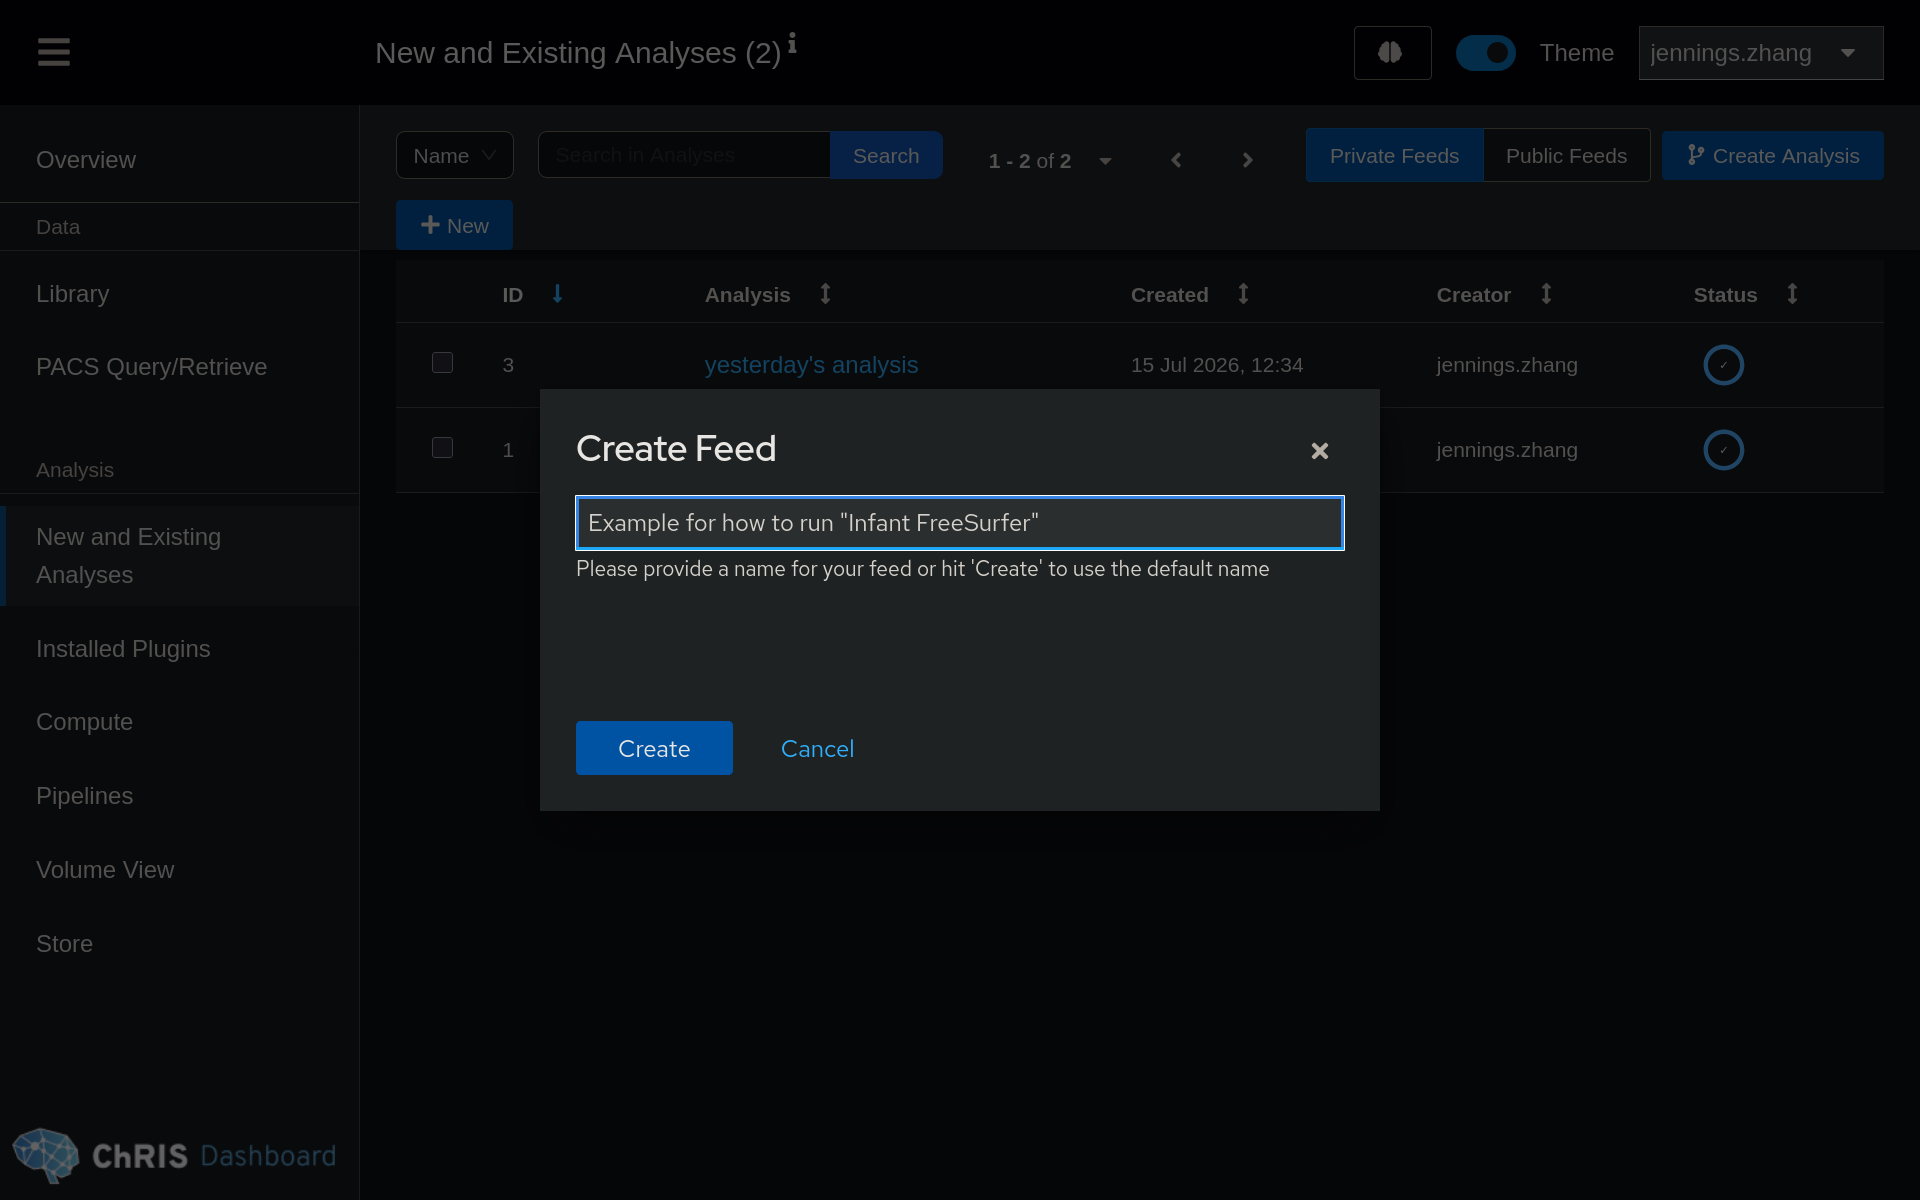
Click . You will then see the notification drawer open.
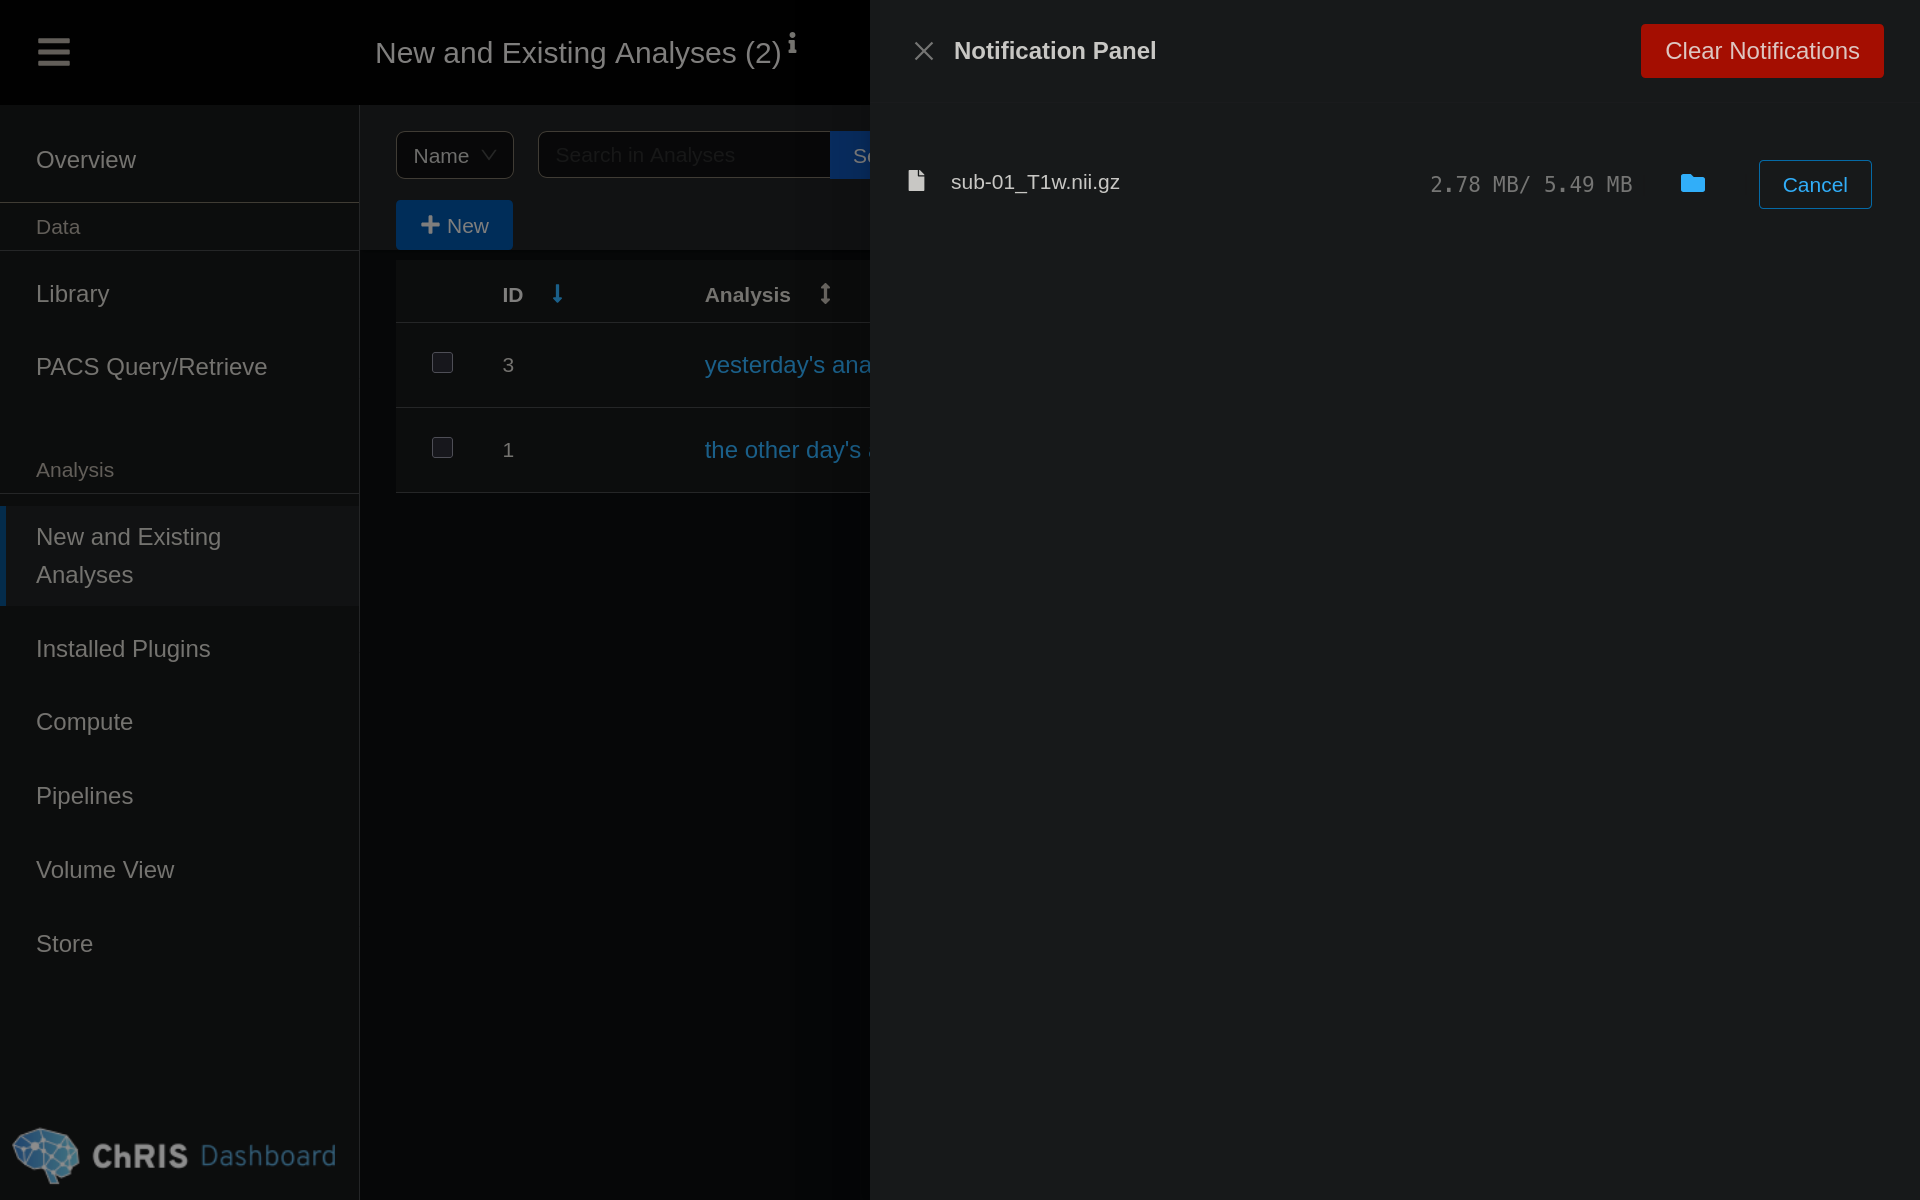
Wait 1–10 seconds for the file upload to finish.
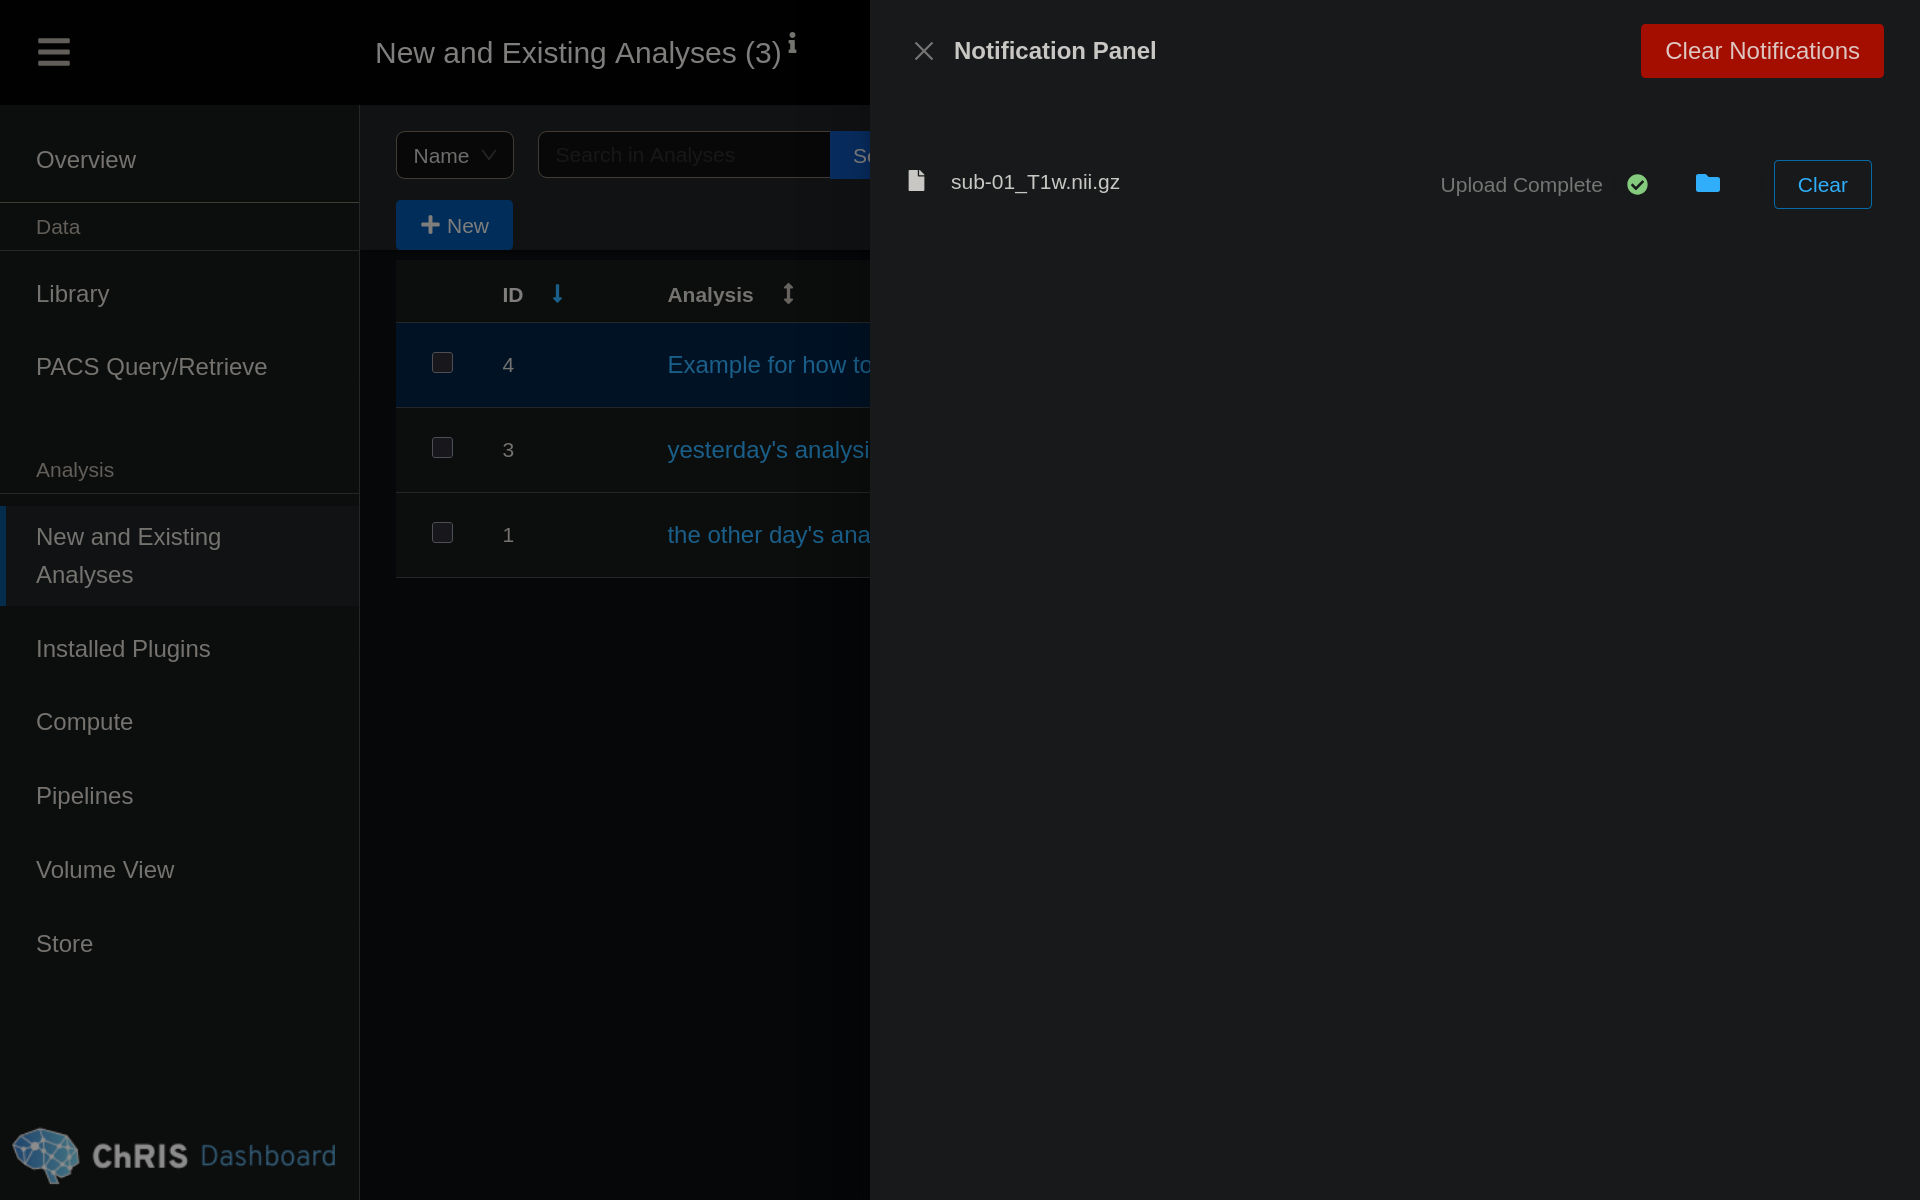
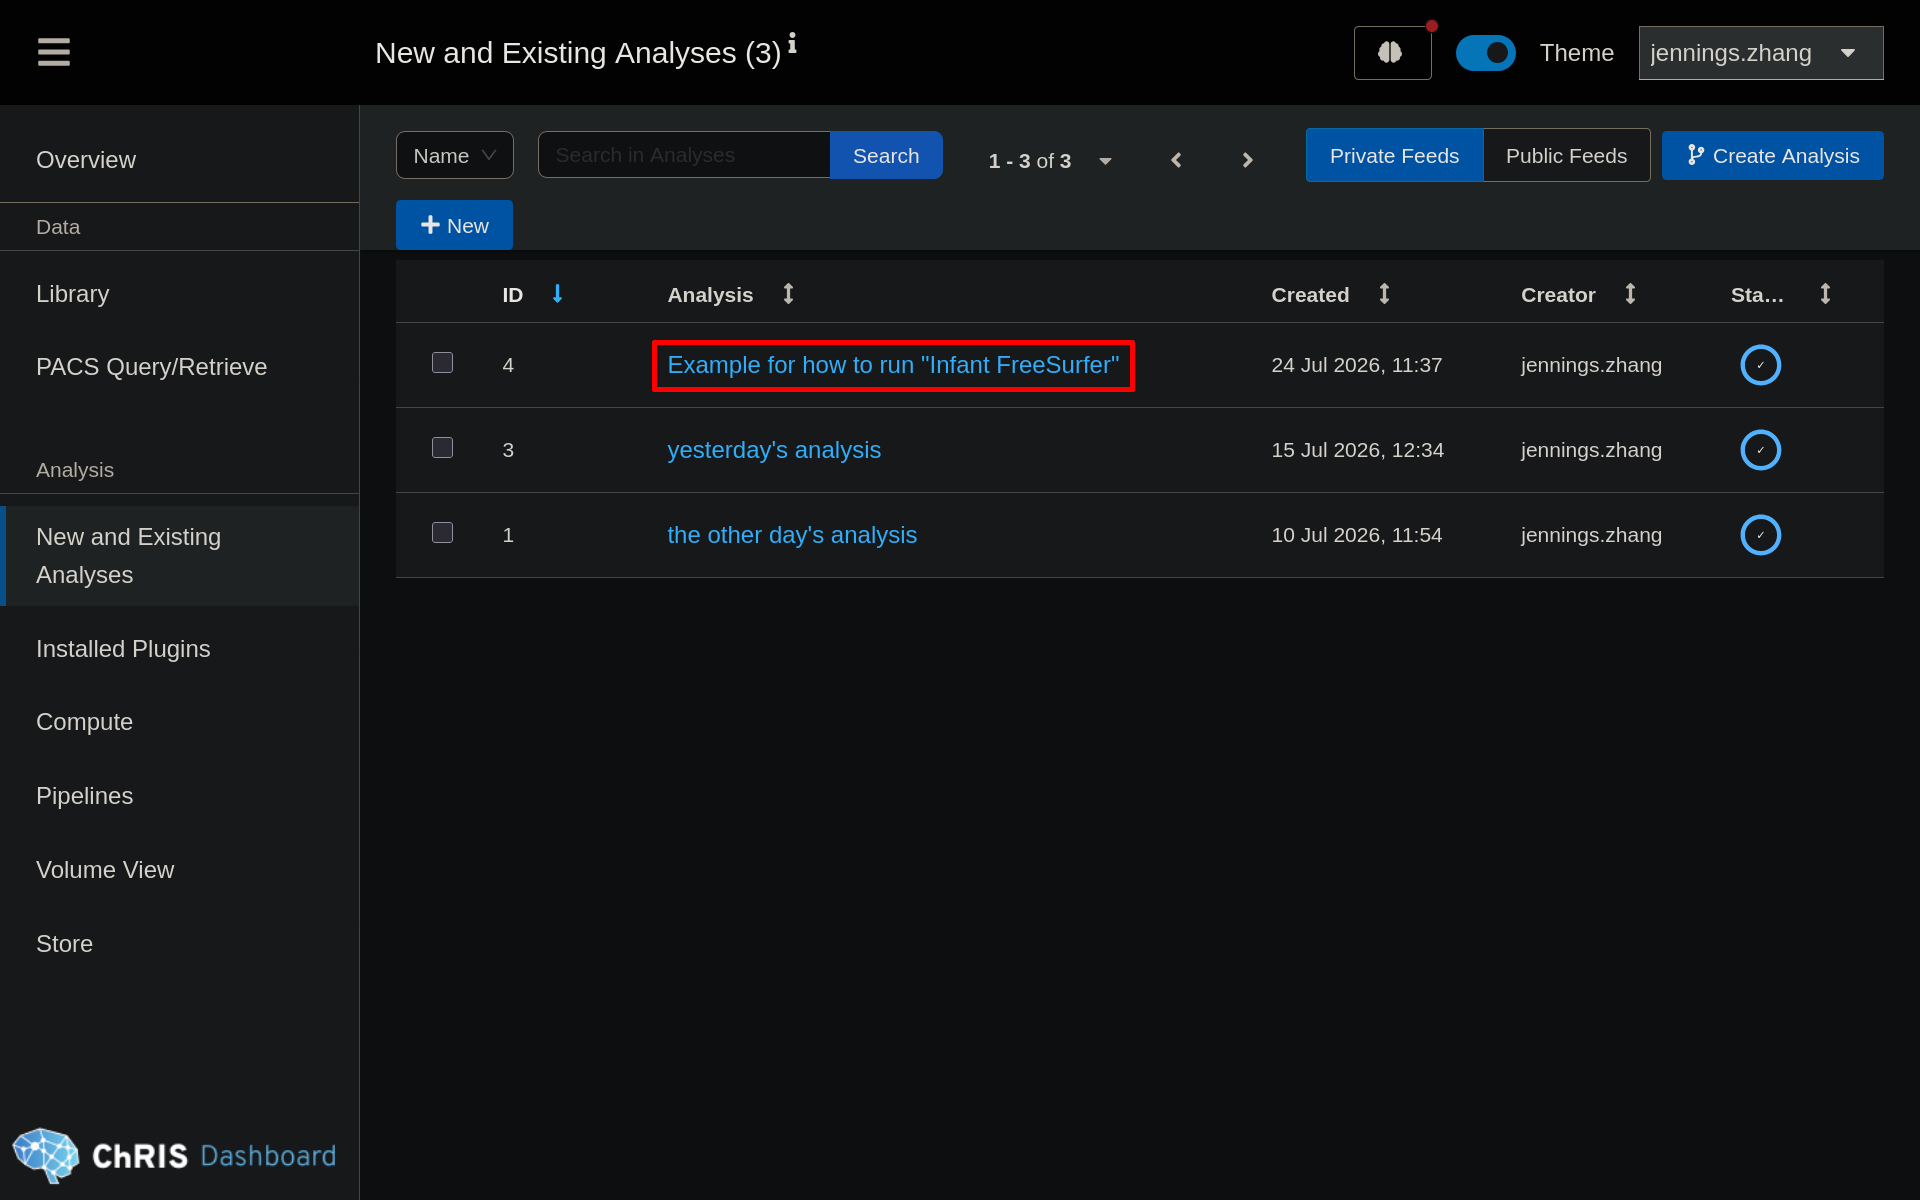
Behind the notification drawer, a new row will appear in the table. At this point you can close the notification drawer. Click the name of the feed to open it.
2. Run the pl-infantfs plugin
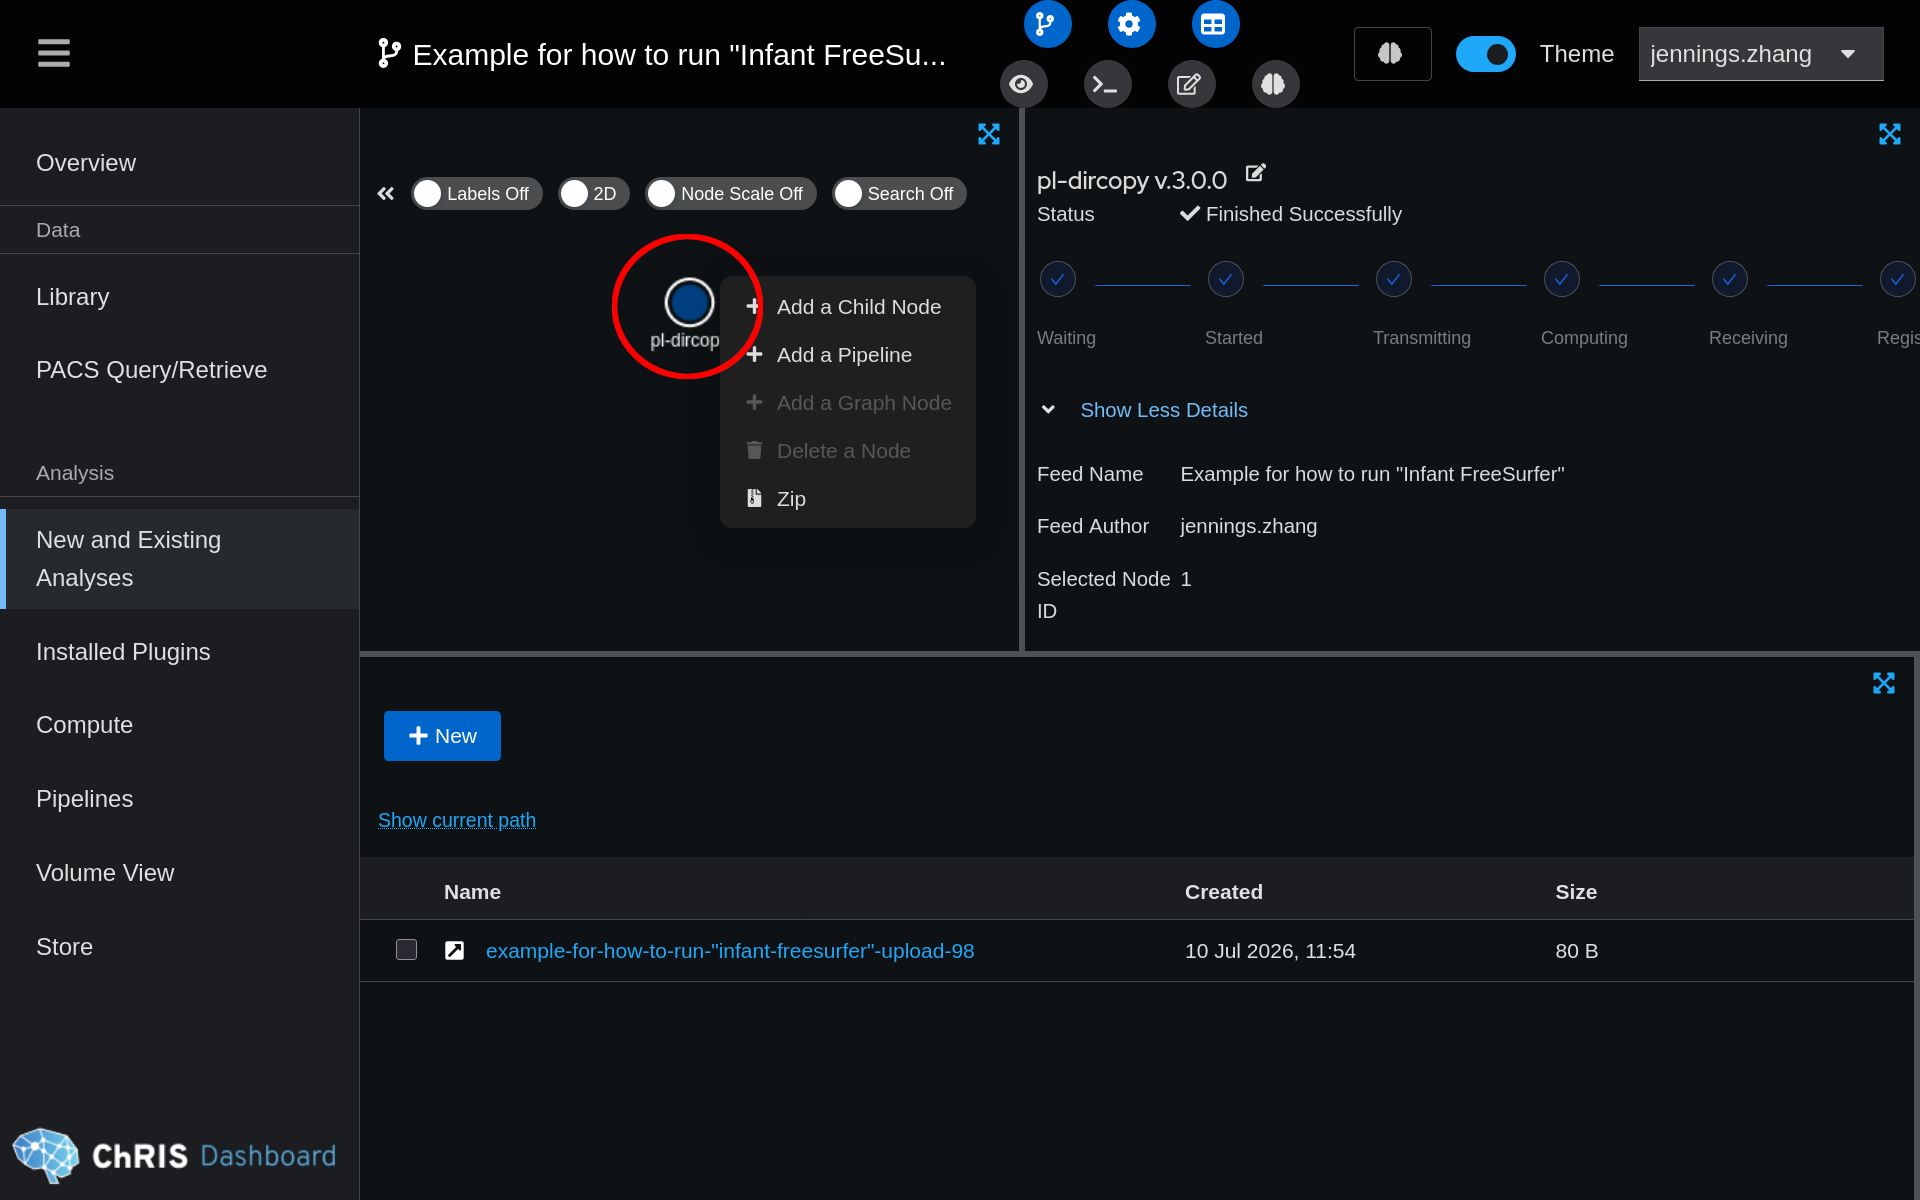
You are now looking at the feed view. There should be one circle containing the input data uploaded during the previous step. Right click on the circle and choose "Add a Child Node".
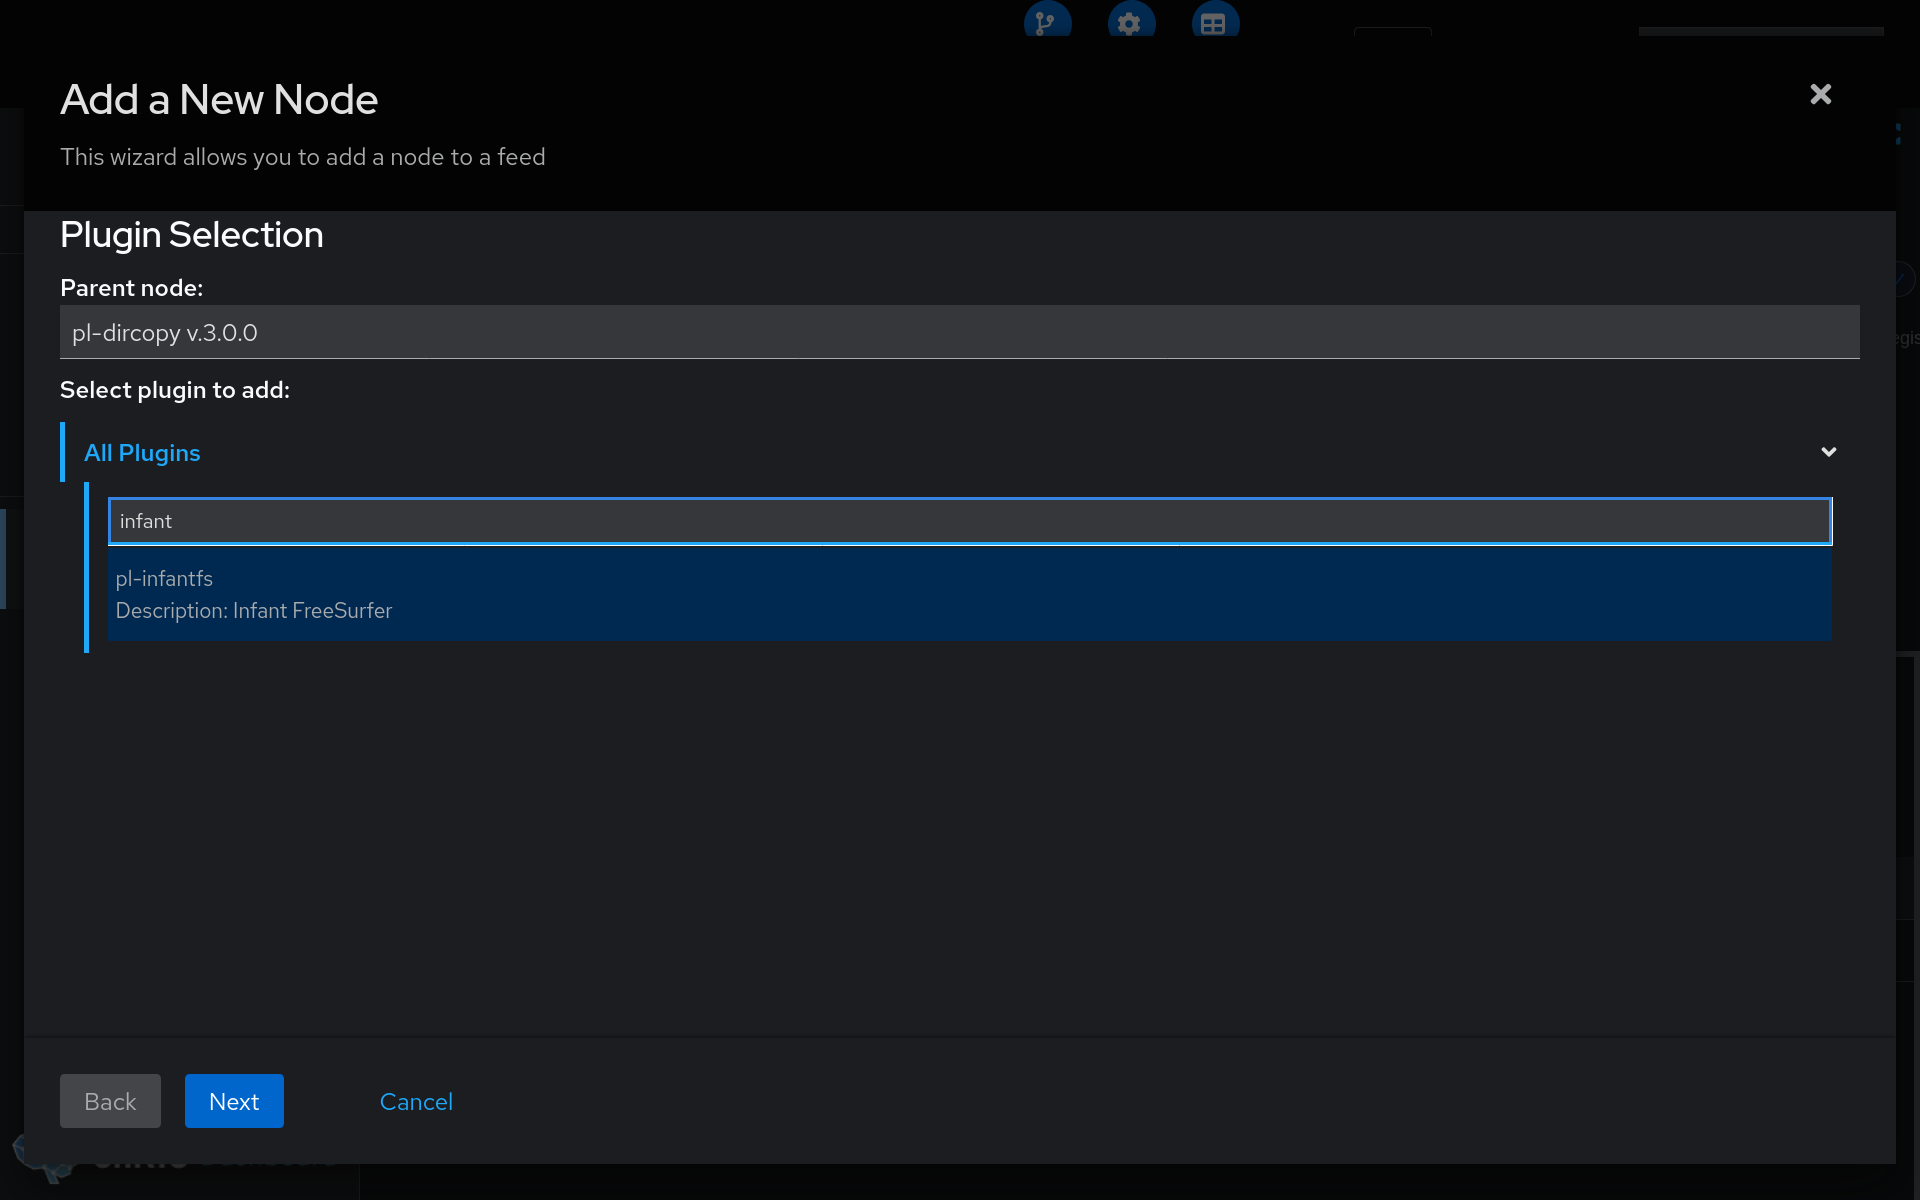
Search for the plugin "pl-infantfs".
Click "Next." Here, you will need to fill out the parameters for Infant FreeSurfer.
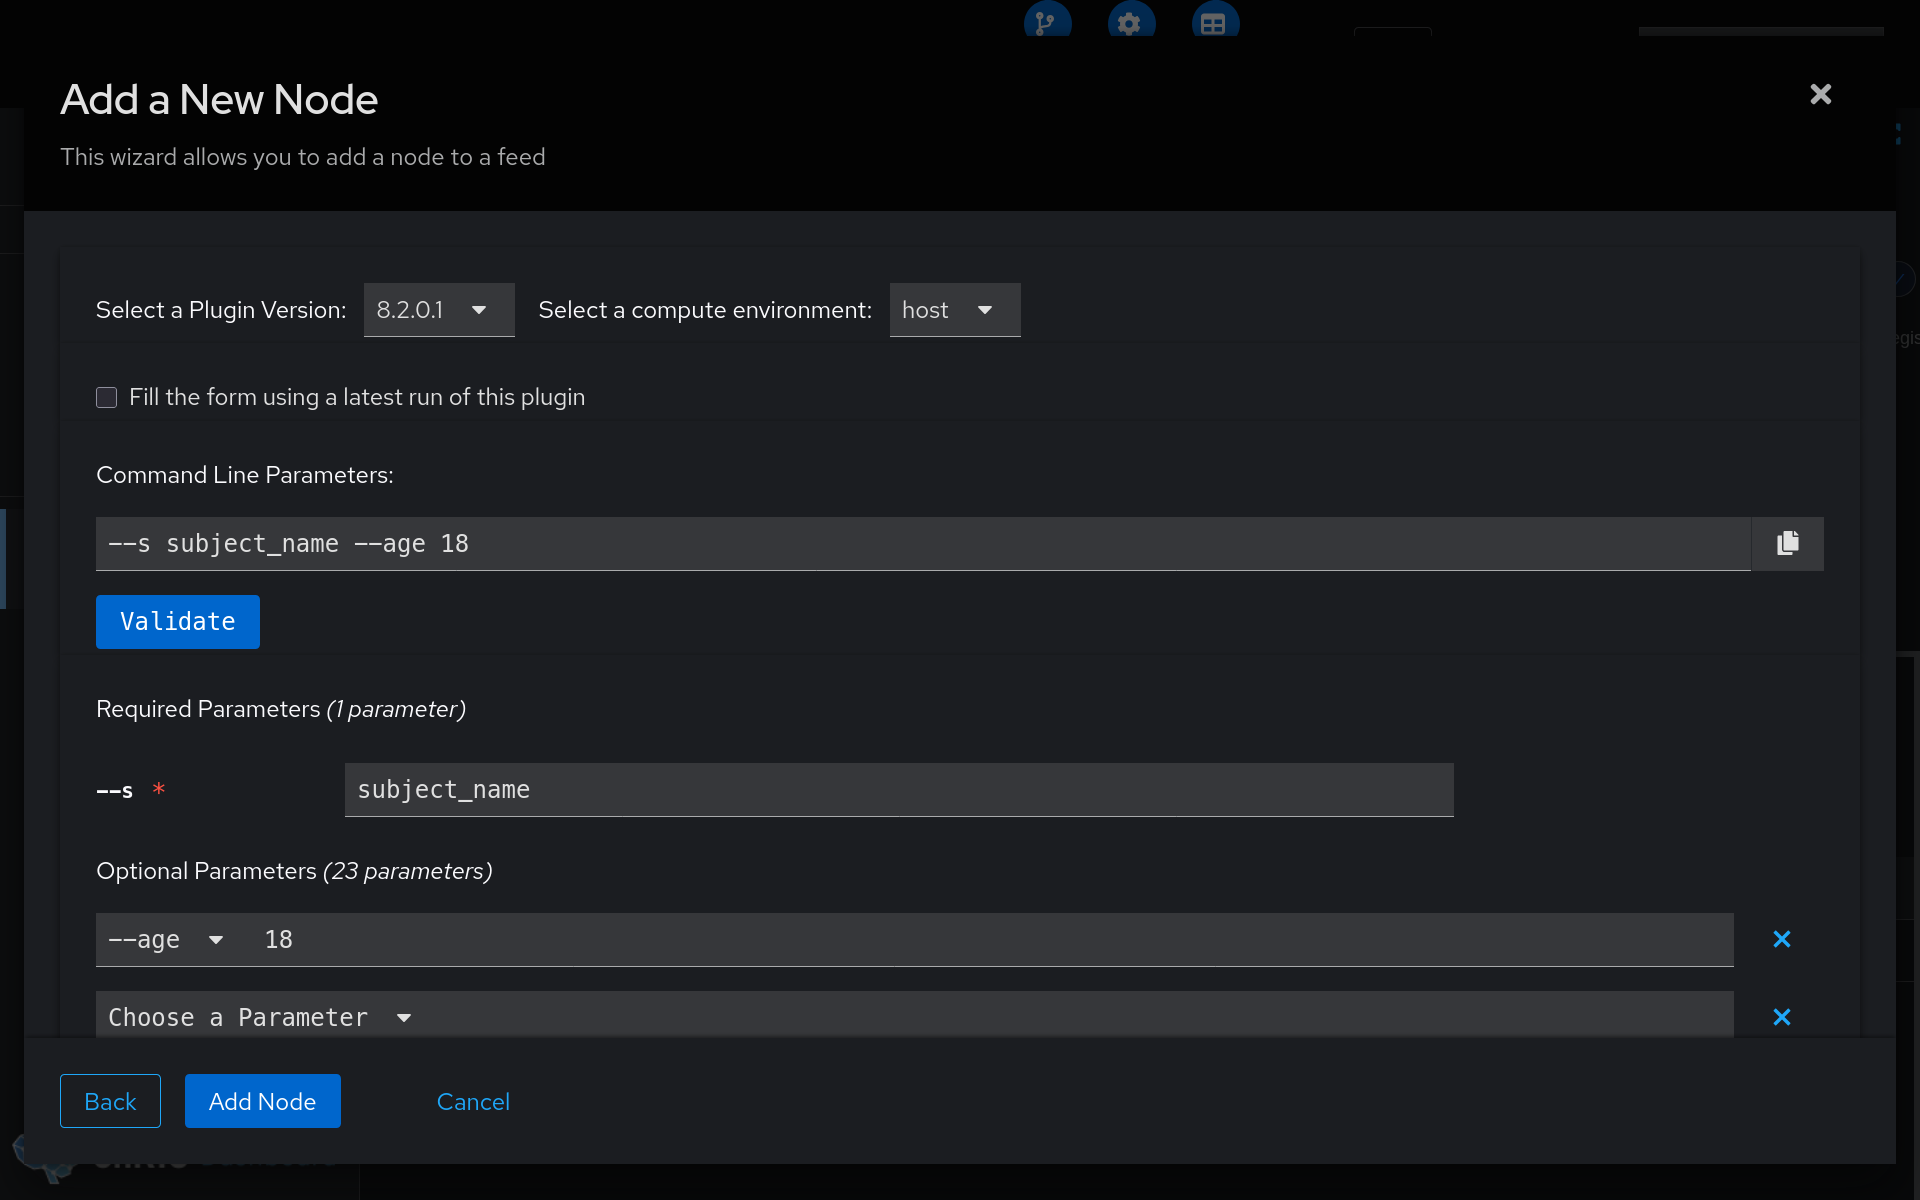
Infant FreeSurfer Parameters
| Parameter | Description |
|---|---|
--s | Subject name. Provide an arbitrary text value, it will affect the name of output files. |
--age | Age of the subject in months. |
For more options, see https://surfer.nmr.mgh.harvard.edu/fswiki/infantFS
Checking the progress
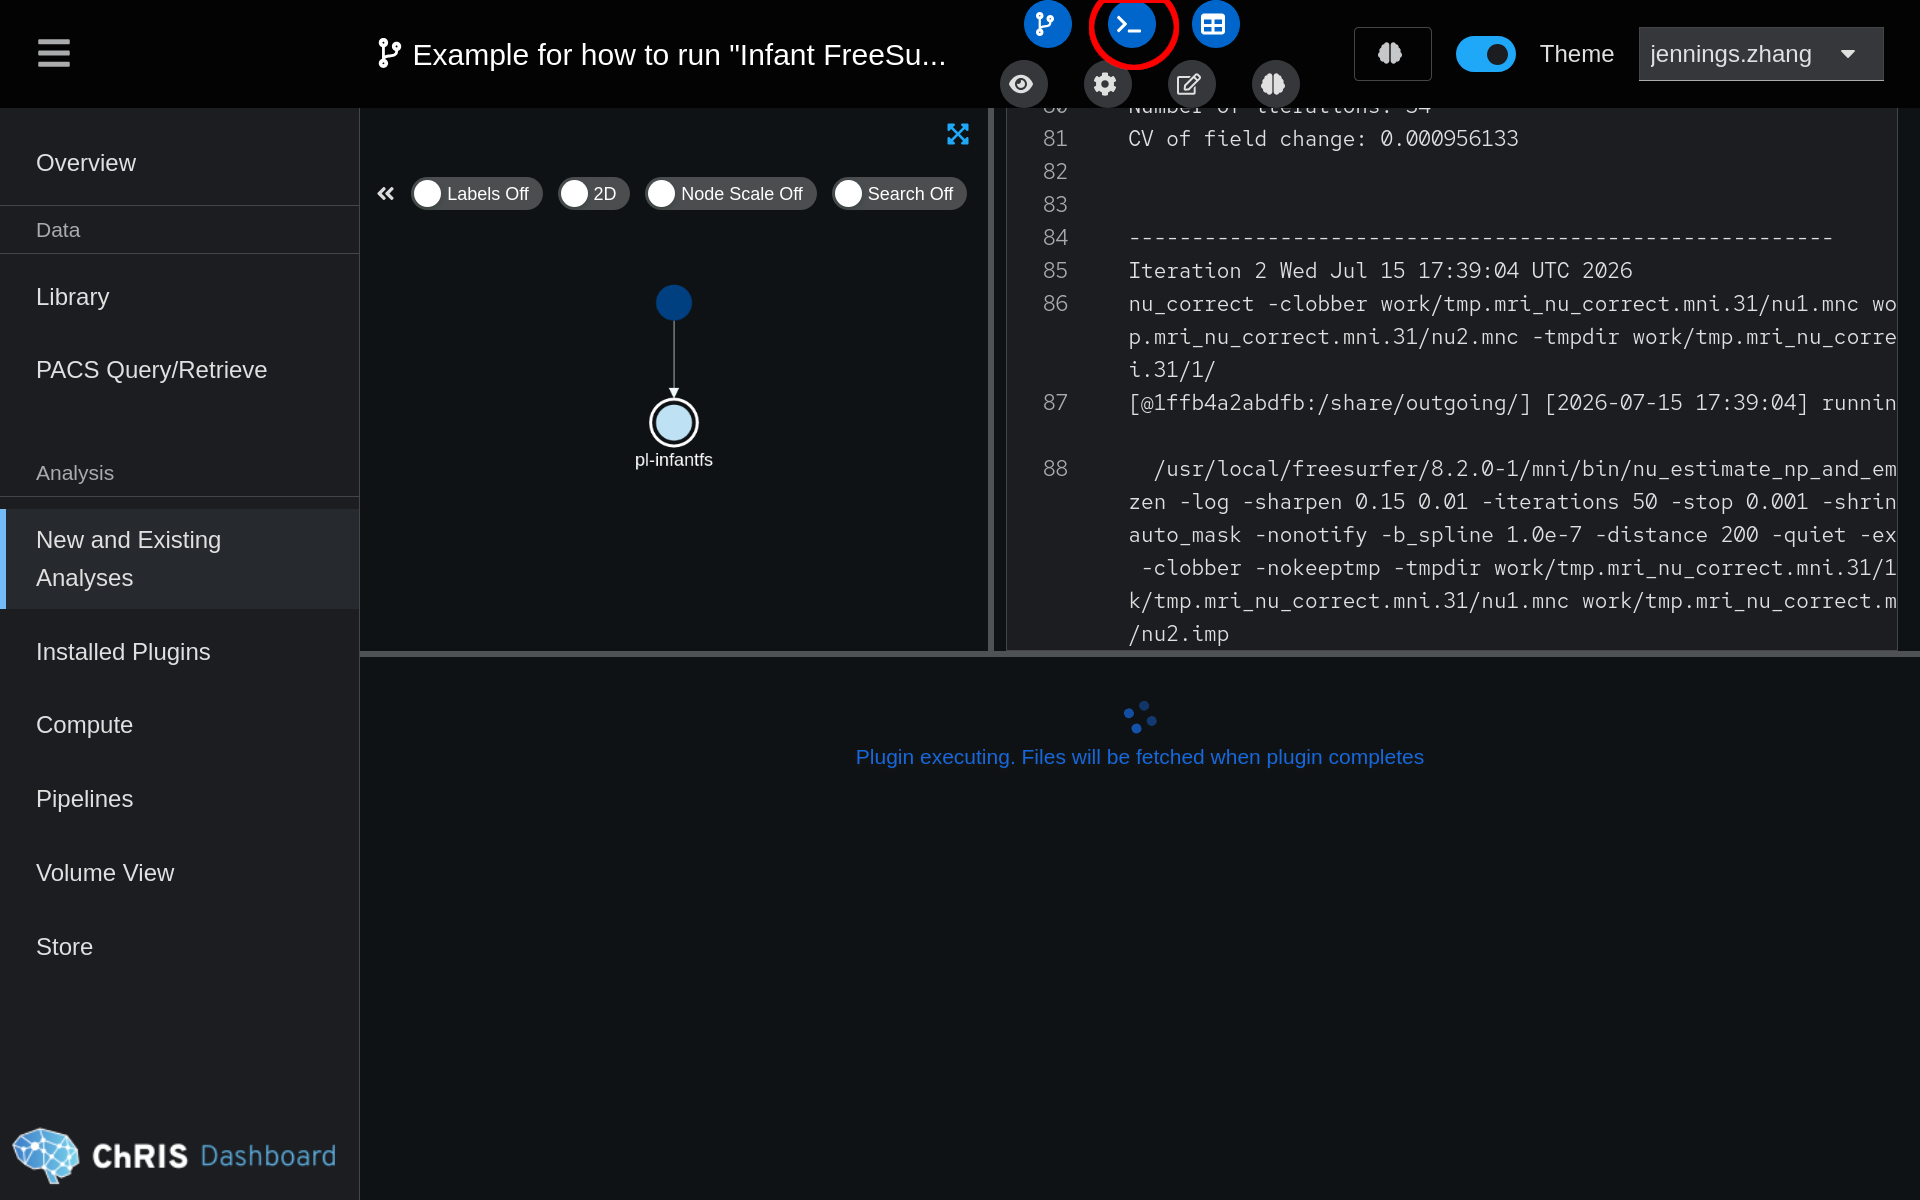
Click the icon found in the top bar to see the terminal logs.
3. Downloading output files
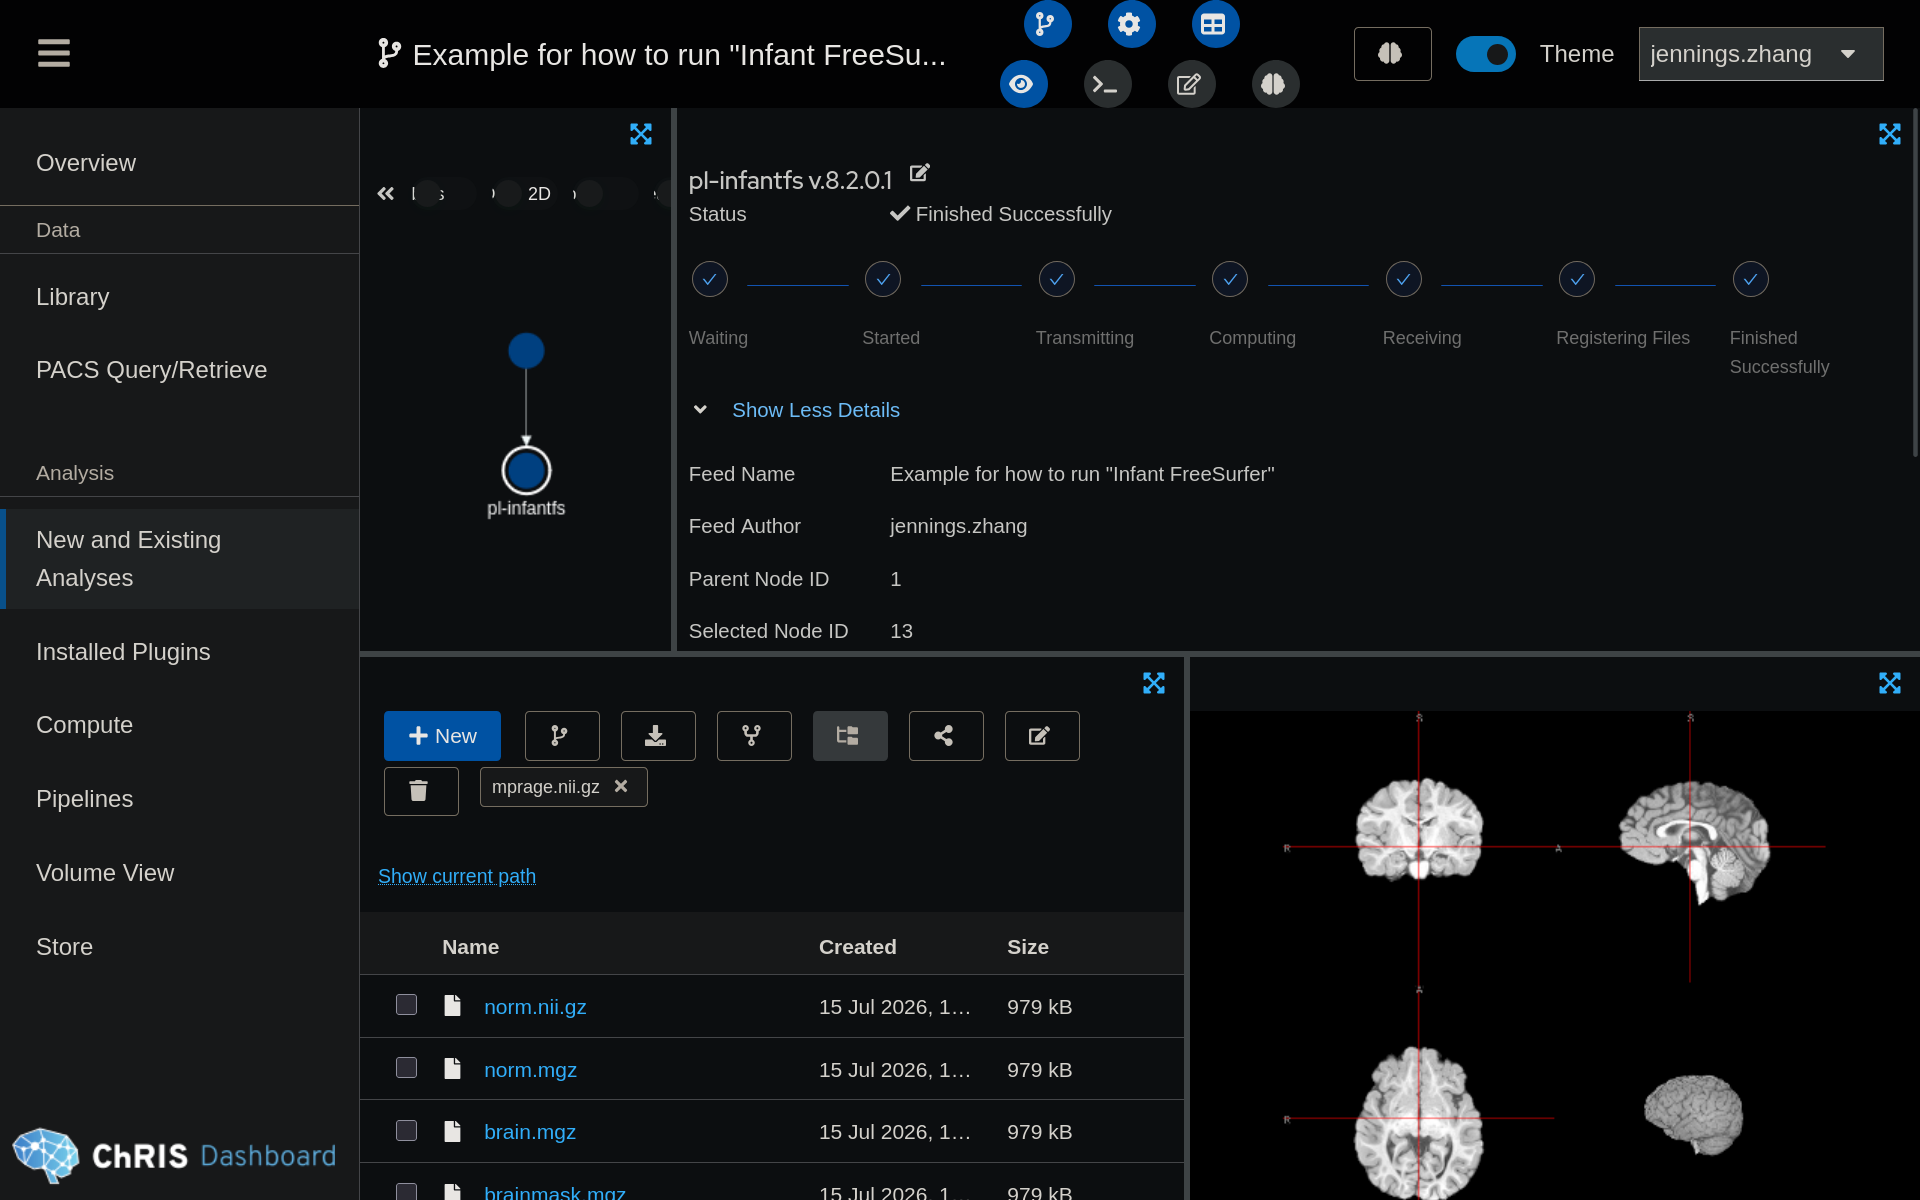
Output files will appear in the bottom panel when the pipeline is done running.
To download files, select a file by clicking the checkbox to the left, and then click the button.
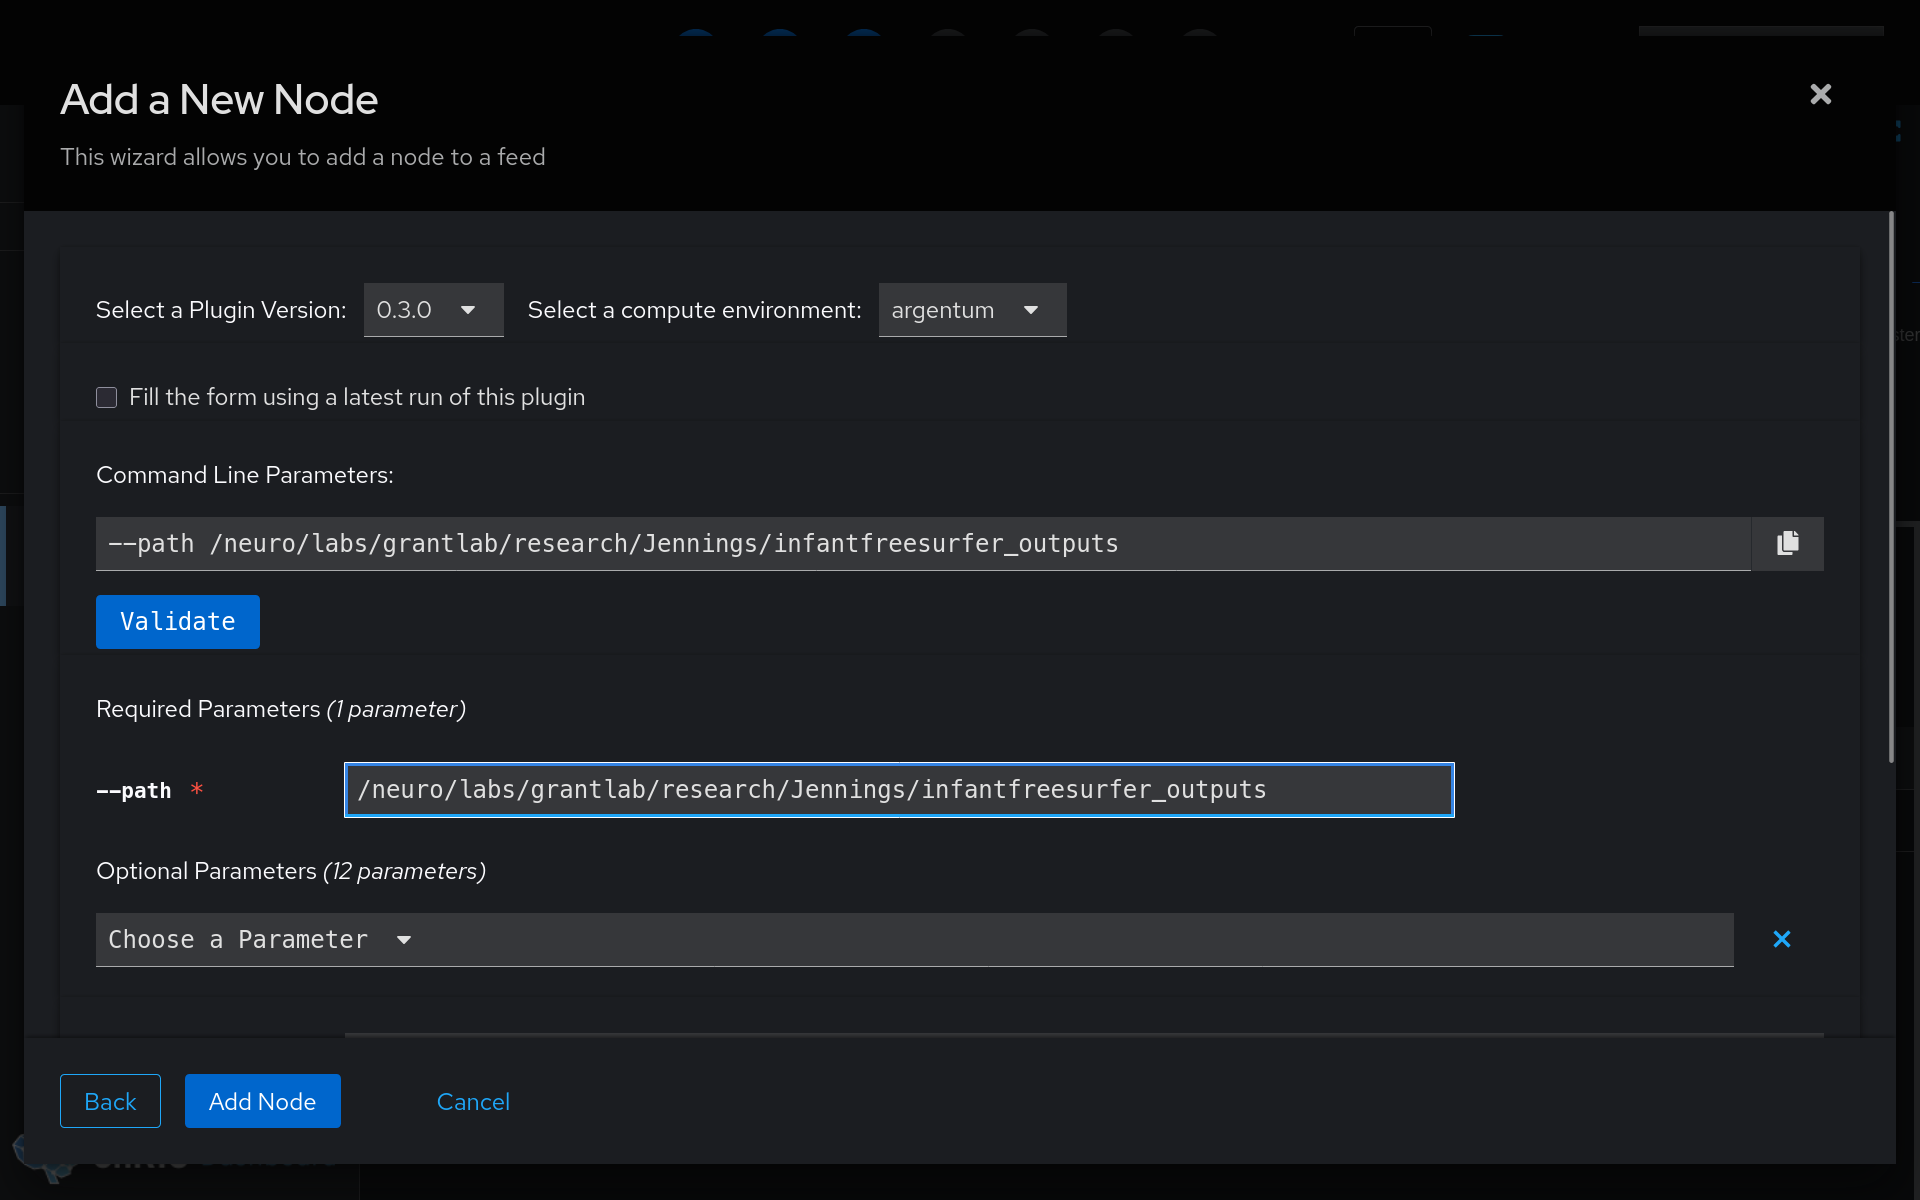
FNNDSC internal users can push files directly from ChRIS to /neuro/labs/grantlab/research
by running pl-neurofiles-push.